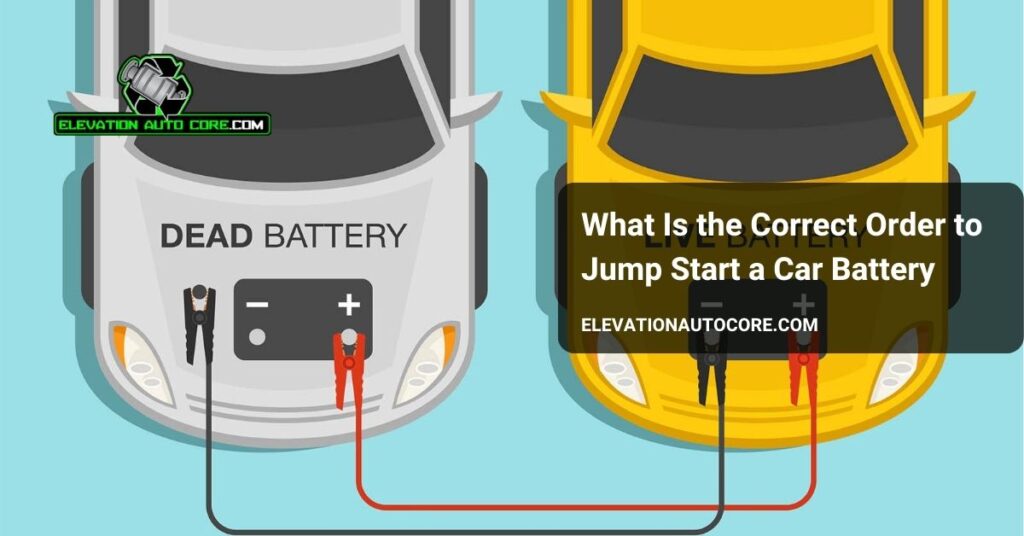
What’s the correct order to jump-start a car battery? Knowing the proper steps isn’t just about convenience—it’s crucial for safety and protecting your vehicle’s electrical system. If you’re unsure or want a quick refresher, stick around to learn how to do it right every time.
Why Proper Jump-Starting Order Is Crucial
Incorrect steps can damage your car’s sensitive electrical components. The electrical system, including the alternator and onboard computers, faces risks from sudden voltage spikes when jump-starting improperly. This may result in costly repairs.
Safety risks arise when the wrong sequence is used. Sparks or potential explosions can occur if connections are made to the wrong terminals. Batteries emit combustible gases, which makes observing the correct order critical to prevent accidents.
Your battery’s performance might decline due to improper connections. Weak or damaged batteries could suffer further harm, reducing their lifespan and reliability. Ensuring the right process protects against these issues.
Other vehicles connected to the faulty process can be impacted. Reversed polarity or incorrect placements may transmit risks to the assisting car, causing damage to both vehicles. Adhering to the sequence safeguards all involved systems.
Tools And Preparations Needed
Preparing the necessary tools and following safety guidelines ensures a smooth and secure jump-start process. Gather the right items and take precautions before starting.
Essential Tools
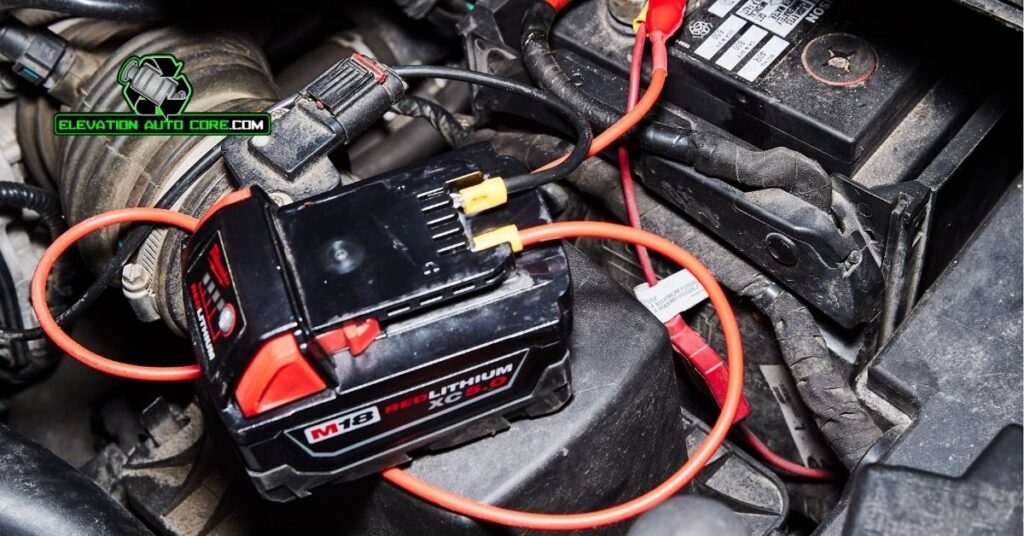
Begin by checking that jumper cables are available. Use cables with insulated handles and a heavy-gauge wire for better performance. If cables aren’t available, a portable jump starter can act as an alternative. Ensure the jump starter is fully charged before use.
Find an assisting vehicle with a functioning battery. Confirm that the battery voltage matches between both vehicles—most common is 12 volts. A pair of work gloves helps protect your hands from dirt or accidental shocks. Use safety glasses to shield your eyes from potential sparks.
Safety Measures To Follow
Inspect both batteries for damage or leaks. Don’t proceed if cracks or leaks are visible, as this poses a safety risk. Turn off both vehicles and remove keys before connecting cables to prevent electrical issues.
Keep metal objects like tools, jewelry, or loose items away from the battery area. Metallic items can cause short circuits if they contact battery terminals. Ensure a dry, well-ventilated environment to minimize the risk of gas ignition from battery fumes. Verify that no flammable materials are nearby.
What Is The Correct Order To Jump Start A Car Battery
Following the correct steps ensures safety and prevents damage to your vehicle’s electrical components. Begin with proper positioning and connection to avoid hazards or performance issues.
Step 1: Position The Cars
Place the assisting vehicle close enough to the disabled car for the cables to reach. Ensure both vehicles are turned off, and their parking brakes are engaged. Keep hoods open and batteries accessible while avoiding physical contact between the cars.
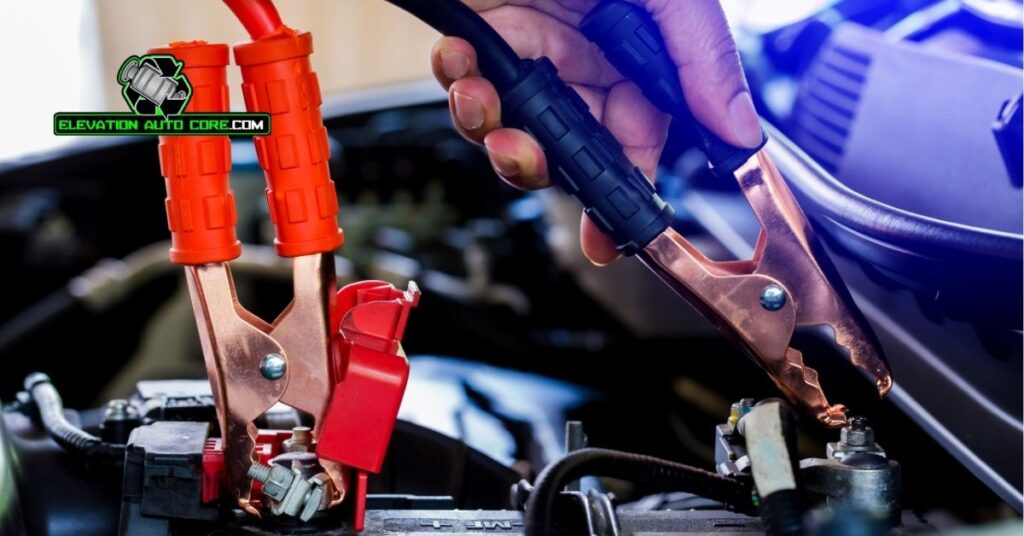
Step 2: Attach The Jumper Cables
Connect the red clamp to the positive terminal of the dead battery. Attach the other end of the red cable to the positive terminal of the assisting car’s battery. Secure the first black clamp to the negative terminal of the assisting car’s battery. Clip the remaining black clamp to an unpainted metal surface on the disabled car, away from the battery.
Step 3: Start The Working Car
Crank the engine of the assisting vehicle to power the dead battery. Let it idle for 2 to 3 minutes to provide sufficient charge. Avoid revving the engine during this process.
Step 4: Start The Dead Car
Attempt to start the disabled vehicle. If it doesn’t start immediately, allow it to charge for another few minutes. Avoid cranking excessively, as this could damage the starter.
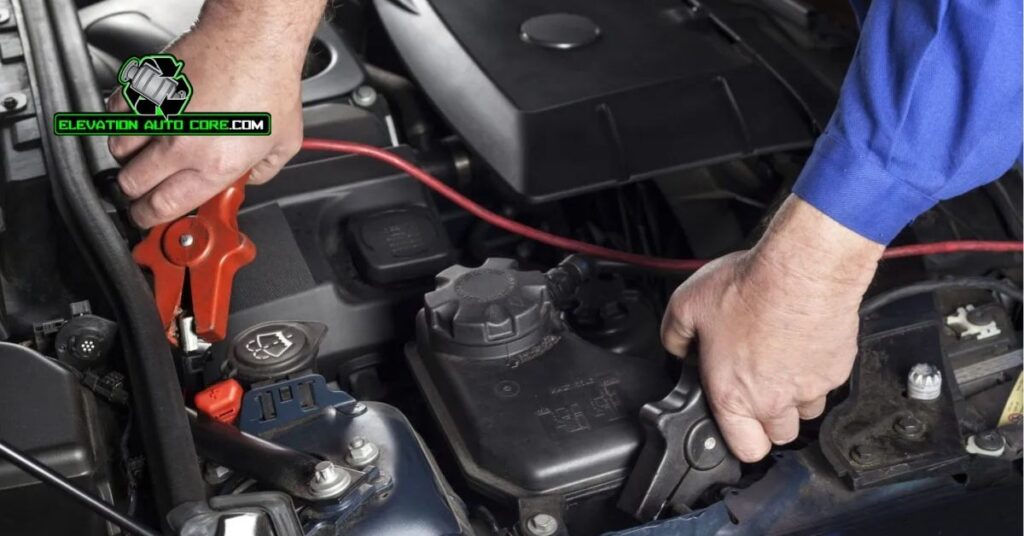
Step 5: Disconnect The Jumper Cables
Remove the jumper cables in the reverse order of connection. Detach the black clamp from the unpainted metal on the disabled car first, followed by the negative terminal on the assisting car. Next, remove the red clamp from the assisting car and finally from the dead battery. Ensure clamps never touch during removal.
Common Mistakes To Avoid
Skipping a battery inspection often causes safety hazards. Ensure both batteries are free from cracks, leaks, or corrosion before attempting a jump-start, as damaged batteries might explode.
Connecting the cables improperly results in serious electrical damage. Always match the positive cable to the positive terminal and the negative cable to a grounded metal surface on the disabled car instead of its negative terminal.
Allowing clamps to touch during the process sparks dangerous short circuits. Keep the clamps separate at all times, whether connecting or disconnecting them from the vehicles.
Starting a jump with one or both vehicles powered on risks damaging sensitive electrical components. Make sure both cars are off and parked securely before handling the jumper cables.
Ignoring metal objects around the battery area leads to accidental short circuits. Remove items like tools or jewelry from the work area, especially near the terminals.
Skipping cable reversal after the jump risks injury or vehicle damage. Detach the cables in the reverse order of how they were connected to prevent sparks or accidental contact.
How To Maintain Your Car Battery For Longevity
Regularly check the battery terminals for corrosion. Corroded terminals can hinder the battery’s performance and shorten its lifespan. Use a mixture of baking soda and water alongside a wire brush to clean the terminals if needed.
Inspect your battery on a monthly basis. Look for physical damage, including cracks or leaks, as these can lead to battery failure. Replace damaged batteries immediately to prevent potential safety hazards.
Avoid leaving your car unused for extended periods. A parked vehicle with an idle battery can result in a loss of charge. Drive your car at least once a week to maintain the battery’s charge level.
Ensure the alternator is functioning correctly. A faulty alternator can overcharge or undercharge the battery, causing severe damage over time. Have the alternator tested during routine maintenance visits.
Limit using electrical components like lights and audio systems when the engine is off. Excessive energy drainage can weaken the battery’s charge, especially in older batteries.
Invest in a battery maintainer during colder months. Low temperatures strain the battery and may lead to failure. A maintainer keeps the battery charged and in optimal condition throughout harsh weather conditions.
Keep the battery securely fastened. Vibrations from a loose battery can damage internal components and reduce its efficiency. Verify that the battery is tightly secured during regular inspections.
Conclusion
Knowing the correct order to jump-start a car battery is crucial for your safety and your vehicle’s health. By following the outlined steps and avoiding common mistakes, you can prevent costly damage and ensure a successful jump-start every time.
Taking proactive measures to maintain your car battery will also save you from unexpected breakdowns. Regular inspections and proper care go a long way in extending its lifespan and keeping your vehicle running smoothly.