Ever found yourself stranded with a dead car battery and no idea how to use jumper cables? Knowing this simple skill can save you time, money, and stress in unexpected situations. With the right steps, you’ll have your car up and running in no time—keep reading to learn exactly what to do.
What Are Jumper Cables?

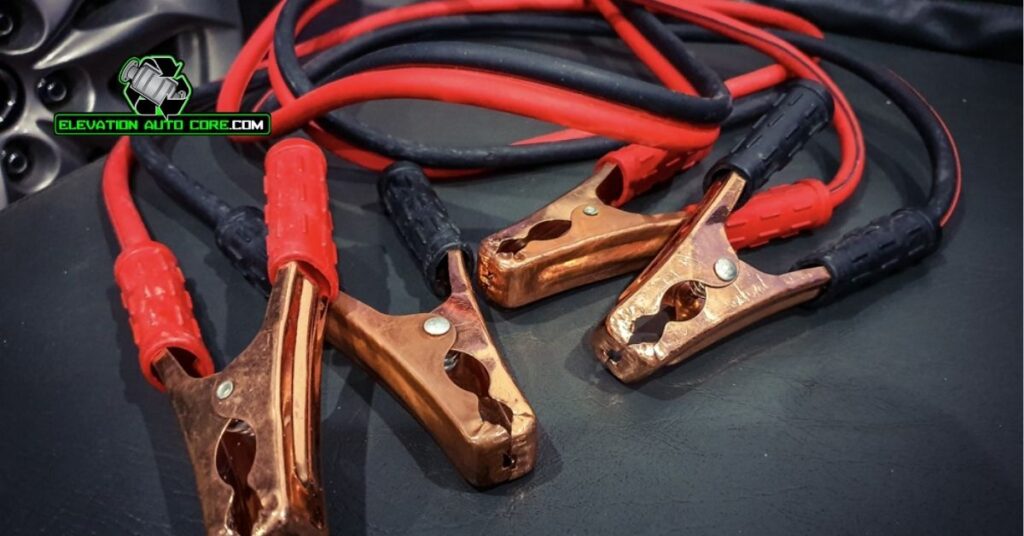
Jumper cables are thick, insulated wires with alligator clamps on each end, used to transfer power between vehicle batteries. These cables are essential for starting a vehicle with a dead battery by connecting it to a charged battery. Designed to handle high electrical currents, they ensure safe energy transfer without overheating.
Each cable typically has two clamps—one red and one black—to indicate positive and negative connections. Red clamps connect to positive battery terminals, while black clamps connect to negative terminals or grounding points. Standard jumper cables range from 10 to 25 feet long, allowing flexibility in connecting vehicles parked at different angles or distances.
Cables come in various gauges, such as 6, 4, or 2, where lower numbers indicate thicker cables capable of handling more current. For most cars, a 4-gauge cable suffices, while heavy-duty vehicles may require a thicker gauge. Always check that the clamps offer a firm grip to maintain stable current flow during use.
Essential Safety Precautions

When using jumper cables, safety is a top priority to prevent injuries or damage to vehicles. Follow these essential precautions to ensure a safe and effective process.
Inspecting the Jumper Cables
Start by checking the condition of your jumper cables. Look for frayed wires, damaged insulation, or corroded clamps, as these could cause electrical hazards. Ensure the clamps open and close properly to secure the connection. Use cables with clean, rust-free metal clamps to guarantee efficient power transfer.
Positioning the Vehicles
Park the vehicles close enough for the cables to reach the batteries without stretching. Ensure the two cars don’t touch each other to avoid unwanted electrical conduction. Place both vehicles in park or neutral and engage the parking brakes to prevent movement during the jump-start. Turn off both engines and all accessories, including lights and radios, to stop unnecessary power usage.
Steps On How To Use Jumper Cables

Jump-starting a car with jumper cables needs careful handling and a clear process. Follow these steps to ensure a safe and successful jump-start.
Connecting The Cables
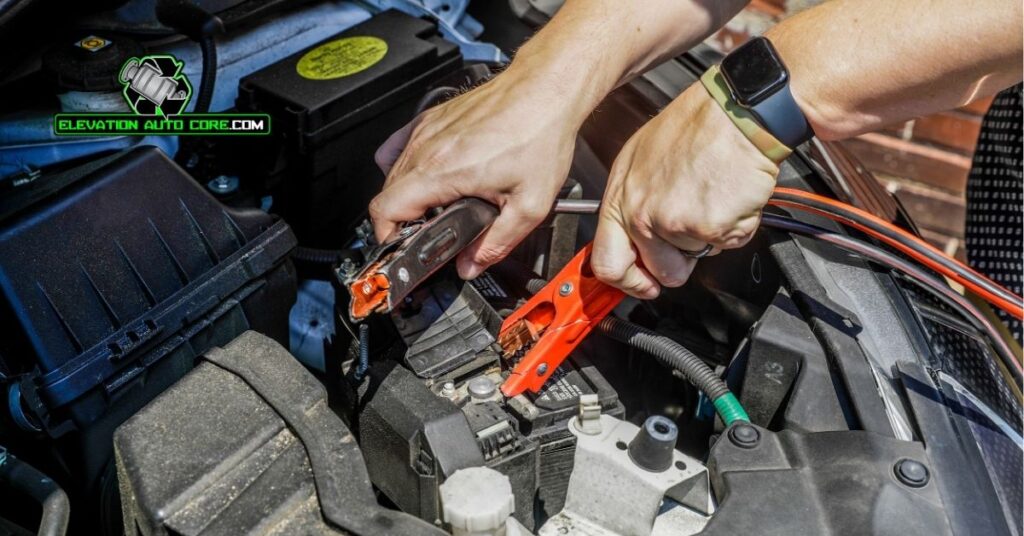
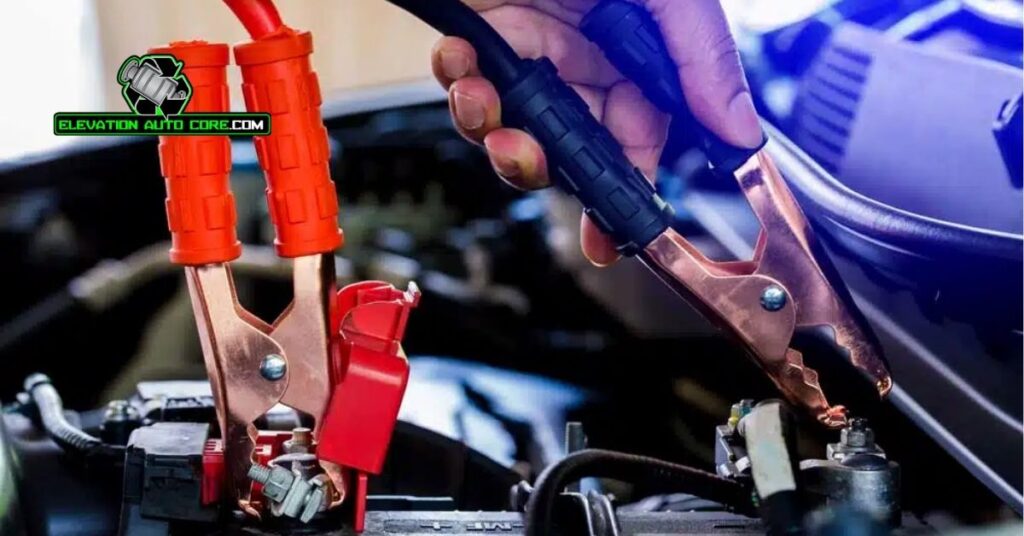
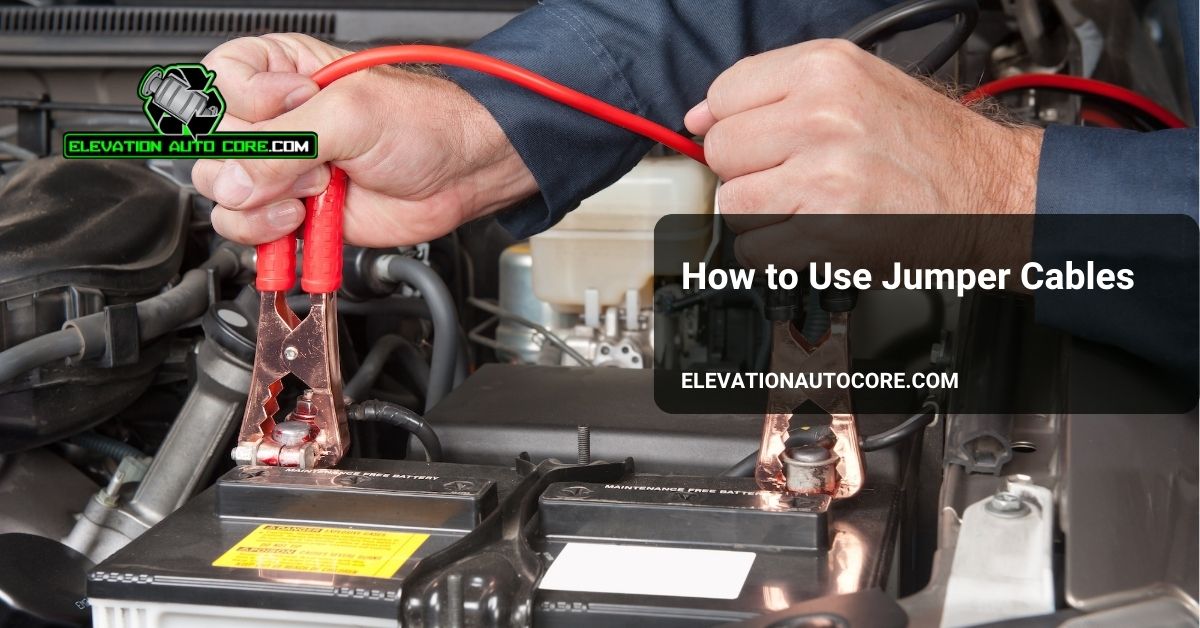
Position both vehicles with their hoods open and batteries accessible. Take the red clamp and attach it securely to the positive terminal of the dead battery, marked with a “+” sign. Connect the other red clamp to the positive terminal of the charged battery. Use the black clamp to connect to the negative terminal of the charged battery, marked with a “-” sign. Attach the second black clamp to an unpainted metal surface on the disabled vehicle, such as a bolt or engine block, to create a safe grounding point.
Starting The Disabled Vehicle
Start the vehicle with the charged battery and let it run for 2-3 minutes to provide power to the dead battery. Attempt to start the disabled vehicle after ensuring the cables are properly connected. If the engine does not start, wait a few more minutes before trying again. Once the vehicle starts, keep it running to allow the battery to recharge.
Disconnecting The Cables Safely
Remove the black clamp from the grounded metal surface on the disabled vehicle first. Detach the other black clamp from the negative terminal of the charged battery. Next, disconnect the red clamps in reverse order, starting with the charged battery and ending with the dead battery. Avoid letting the clamps touch each other or any metal surfaces during disconnection. Ensure the cables are neatly stored for future use.
Common Mistakes To Avoid

Using jumper cables incorrectly can damage vehicle components or cause safety hazards. Avoiding these common mistakes ensures a successful jump-start process.
- Reversing cable connections
Attaching the red clamp to the negative terminal or the black clamp to the positive terminal can create sparks, damage the batteries, or harm electrical systems. Verify the “+” and “-” markings before connecting the cables.
- Connecting cables to moving parts
Securing clamps near belts, fans, or other moving components can lead to accidents. Use stable, non-moving points on the vehicles for all connections.
- Ignoring battery inspection
Connecting jumper cables to leaking or damaged batteries increases safety risks. Check for cracks, corrosion, or leaks before proceeding with the jump-start.
- Allowing cables to touch
Letting the metal clamps come into contact during the process can cause short circuits. Maintain proper distance between the clamps at all times.
- Skipping engine-off and park steps
Failing to turn off both vehicles and secure them in park or neutral creates transmission risks and electrical faults. Double-check these conditions before beginning.
- Using undersized cables
Choosing cables with insufficient gauge, such as 8-gauge or higher, can prevent effective power transfer. Use at least a 4-gauge cable for most vehicles to ensure energy flow.
- Rushing cable removal sequence
Disconnecting clamps in the wrong order (e.g., removing the positive clamp first) may cause sparks. Remove the black clamp from the grounded vehicle last to minimize risks.
- Forgetting to charge a dead battery afterward
Not running the previously dead vehicle long enough may result in another dead battery. Let the recharged battery run for at least 20 minutes after successful connection.
Tips For Maintaining Jumper Cables
Store jumper cables in a dry and clean area to prevent moisture and dirt from causing damage. Avoid coiling cables too tightly, as this can create kinks that damage the wires over time. Inspect their insulation regularly to ensure it isn’t cracked or split, as worn insulation can expose wires and lead to electrical issues.
Clean cable clamps periodically with a wire brush to remove dirt or corrosion, which may reduce conductivity. Check both the clamps and wires for rust, especially if the cables are stored in a humid environment, and address any corrosion immediately.
Test the cables occasionally to verify they’re functioning properly. Attach them to a working battery to confirm good electrical flow and replace them if they fail this check. Carry the cables in a secure container in your vehicle to protect them from being crushed or torn by other items.
Conclusion
Mastering the use of jumper cables is a valuable skill that can save you from stressful situations on the road. By following the proper steps and taking necessary precautions, you can safely and effectively revive a dead battery when needed. With well-maintained jumper cables stored in your vehicle, you’ll always be prepared to handle unexpected battery issues confidently.

