Ever wondered how to reset a camshaft position sensor without a trip to the mechanic? This crucial sensor plays a key role in your engine’s performance, and knowing how to reset it can save you time and money. Stick around to learn the simple steps to get your vehicle running smoothly again.
What Is A Camshaft Position Sensor?

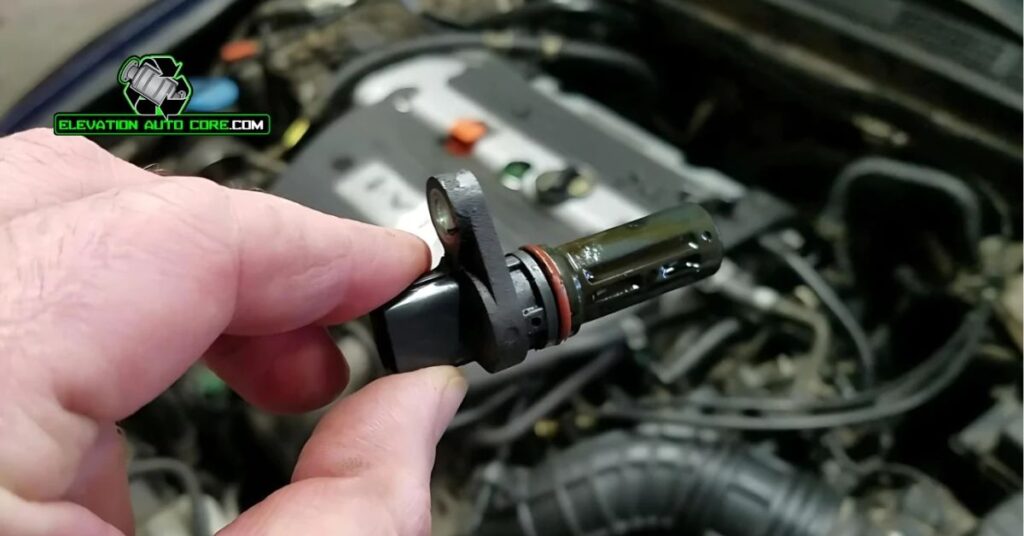
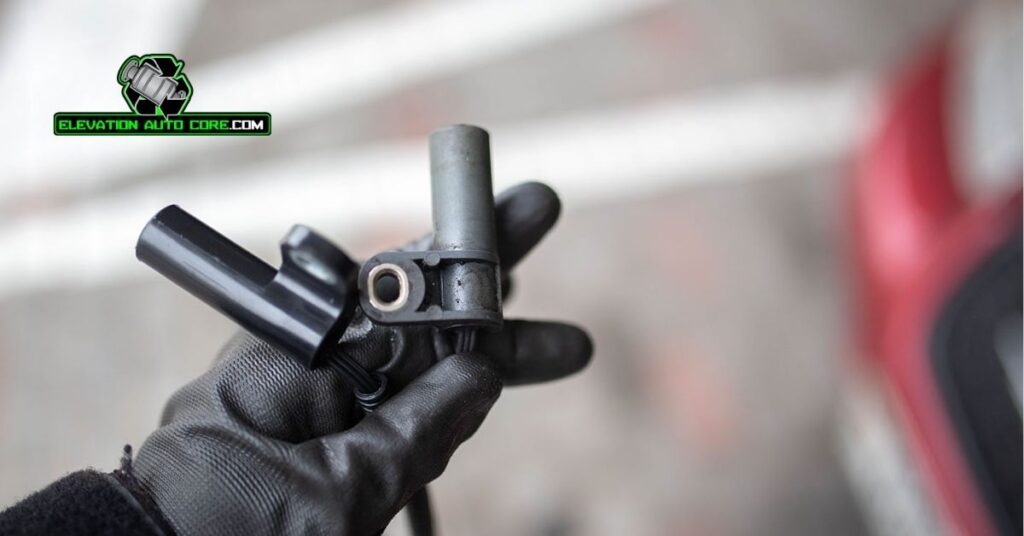
A camshaft position sensor monitors the position and rotational speed of the camshaft in your engine. This component ensures the engine’s control unit knows when to inject fuel and ignite the spark plugs. It helps synchronize these processes for efficient performance.
The sensor continuously sends real-time data to the engine control module (ECM). Based on this data, the ECM adjusts timing and fuel delivery to optimize performance. Malfunctions in this sensor can disrupt engine operation and trigger error codes.
Modern vehicles rely on this sensor to meet emission standards and improve fuel efficiency. Common symptoms of a faulty sensor include stalling, poor acceleration, and difficulty starting.
Symptoms Of A Faulty Camshaft Position Sensor

A malfunctioning camshaft position sensor can disrupt your engine’s performance. Identifying symptoms early ensures timely action to address the issue.
Check Engine Light
The check engine light often activates when the camshaft position sensor fails. It alerts the vehicle’s engine control module to detect irregularities in sensor data. Scanning for diagnostic trouble codes (DTCs) helps confirm if the sensor is the cause.
Poor Vehicle Performance
A faulty sensor reduces acceleration and fuel efficiency. Inconsistent or delayed data impacts the engine’s timing, leading to sluggish driving and decreased power output. Prolonged issues might increase fuel consumption.
Engine Misfires
Misfires occur when the sensor miscommunicates timing data to the ECM. This disrupts spark plug function or fuel injection, causing rough idling, reduced power, or jerky driving. Misfires over time may damage vital engine components.
Tools Needed For Resetting The Camshaft Position Sensor
Gather exact tools to reset your camshaft position sensor effectively. The most essential item is an OBD2 scanner, used for diagnosing error codes and clearing fault records. A socket wrench set is required for removing and reinstalling bolts holding the sensor in place. Include a multimeter to test sensor voltage and confirm proper functionality. Screwdrivers, both flathead and Phillips, assist in accessing sensor connections. Cleaners like electrical contact spray ensure debris doesn’t interfere with electrical components. Safety gloves protect your hands during the process. A torque wrench may also be necessary, ensuring bolts are resecured to the manufacturer’s specifications.
Step-By-Step Guide On How To Reset Camshaft Position Sensor

Resetting the camshaft position sensor can help resolve engine performance issues and clear error warnings. Follow these steps carefully to ensure proper functionality.
Identify The Sensor Location
Locate the camshaft position sensor on your vehicle. It’s typically positioned near the top of the engine, close to the camshaft itself or around the cylinder head. Refer to your vehicle’s service manual for precise identification.
Disconnect The Battery
Cut power by detaching the vehicle’s battery. Remove the negative terminal first to prevent electrical hazards. Take extra care if your vehicle has multiple batteries. Use gloves for added safety.
Remove The Sensor
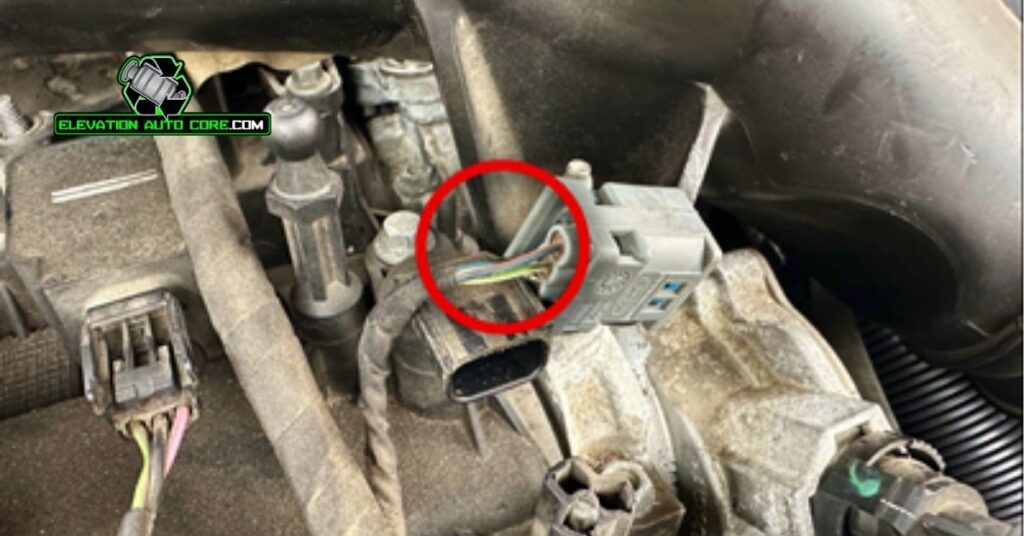
Unfasten the mounting bolts that secure the sensor using a socket wrench. Carefully disconnect the electrical connector without damaging the pins. Pull the sensor out of its housing gently to avoid breaking any surrounding components.
Reset And Reinstall The Sensor
Inspect the sensor and its connector for dirt or corrosion. Clean the contact points using electrical contact spray before proceeding. Reinsert the sensor into its place and tighten the bolts with a torque wrench if recommended in the manual.
Reconnect The Battery And Test
Reconnect the battery by attaching the negative terminal last. Use an OBD2 scanner to clear error codes and verify that the issue is resolved. Start the engine and monitor for any warning lights or irregularities.
Common Mistakes To Avoid

Failing to disconnect the battery before working on the sensor exposes you to electrical hazards. Always disconnect the battery to prevent short circuits or damage to the engine control module.
Skipping the inspection and cleaning of the sensor may lead to inaccurate readings after resetting. Dirt, grease, or debris on the sensor face can interfere with its functionality, so ensure it’s clean before reinstalling.
Using the wrong tools for installation can damage the sensor or its connectors. Stick to appropriate wrenches and screwdrivers designed for automotive repairs to avoid stripping bolts or breaking delicate components.
Neglecting to clear error codes using an OBD2 scanner after sensor replacement may cause persistent check engine lights. Ensure you reset the ECM to confirm the issue is resolved.
Reinstalling the sensor without tightening the mounting bolts adequately can cause vibrations or loose connections. Verify that all bolts are firmly secured to maintain reliable positioning.
Forgetting to test the engine after finishing the reset process might leave unresolved issues unnoticed. Start the vehicle and monitor its performance to ensure the reset was successful.
When To Seek Professional Help
Certain situations signal the need for expert assistance. Persistent symptoms like engine stalling, misfires, or irregular acceleration, even though resetting the camshaft position sensor, indicate deeper issues. You must also reach out if the check engine light remains on after resetting and clearing error codes with an OBD2 scanner. These could point to underlying problems within the engine control module or wiring.
Unusual complications during the reset process, such as damaged connectors or corrosion on wiring, require professional evaluation. Modern vehicles with advanced systems may involve intricate diagnostics beyond basic tools. Also, if your vehicle continues to fail emission tests, a professional inspection ensures compliance with standards and avoids fines.
Frequent sensor failures in a short span suggest a broader engine malfunction. Sensor-related breakdowns that occur frequently, regardless of replacement or resets, often stem from issues in timing components or other integral hardware. Seeking a skilled technician at this stage prevents further damage and ensures long-term engine reliability.
Conclusion
Resetting your camshaft position sensor doesn’t have to be overwhelming. By following the proper steps and avoiding common mistakes, you can restore your vehicle’s performance and efficiency with confidence. Remember to stay attentive to warning signs and don’t hesitate to seek professional help if issues persist. Taking these measures ensures your engine runs smoothly and reliably for the long haul.

