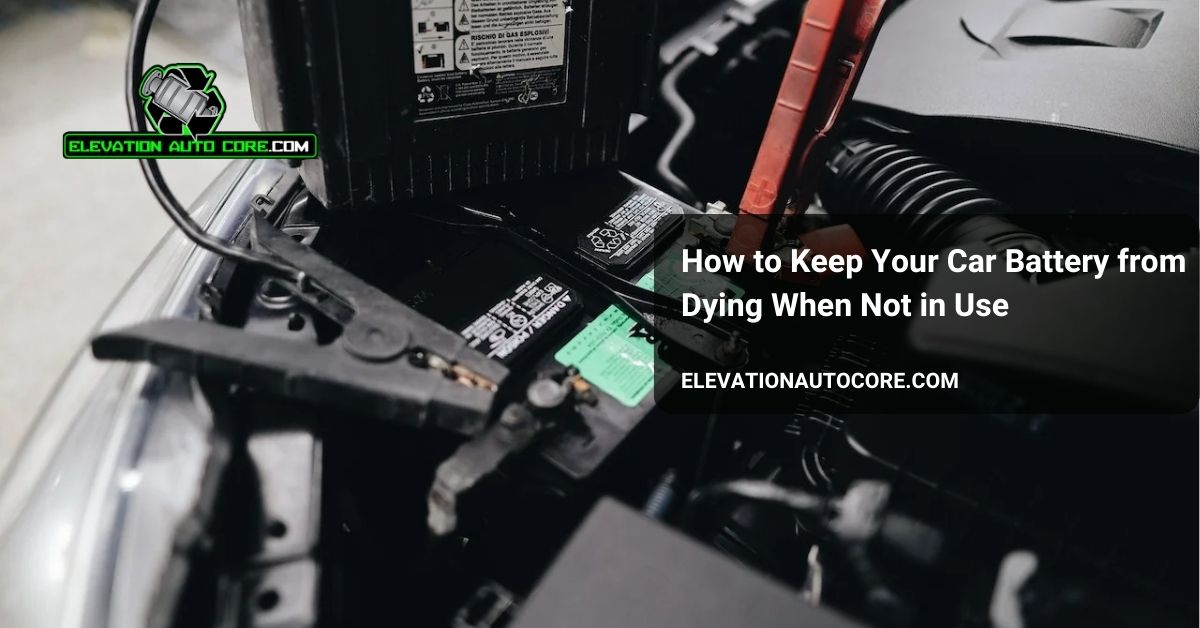
How long should you leave jumper cables on before starting your car? When your battery dies, knowing the right steps can mean the difference between a quick fix and a frustrating delay. Understanding the timing and process ensures you’ll get back on the road safely and avoid potential damage to your vehicle. Keep reading to learn the key details.
Understanding Jumper Cables
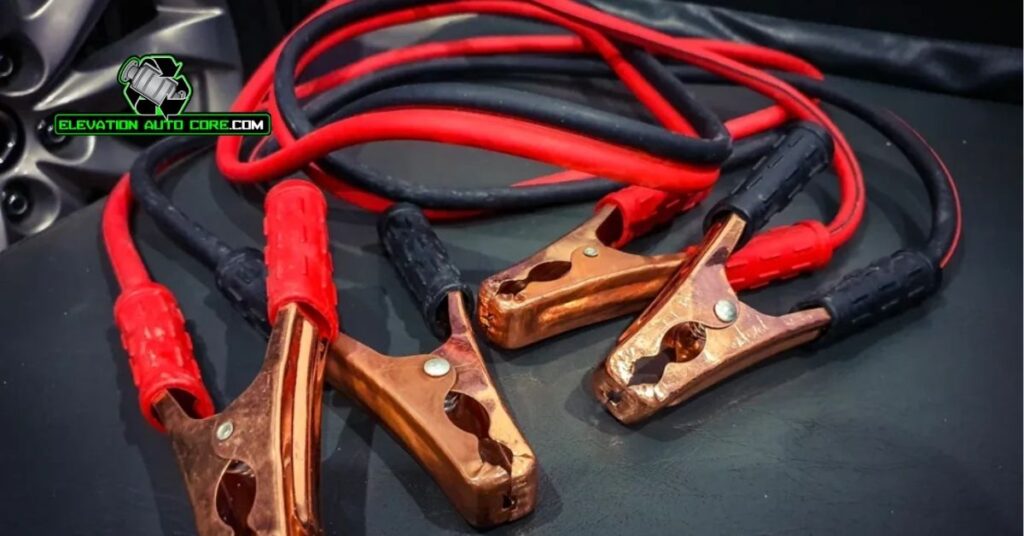
Jumper cables serve as a bridge to transfer power from a charged battery to a dead one. Knowing how they work and why proper procedure is essential can prevent mistakes and ensure safety.
How Jumper Cables Work
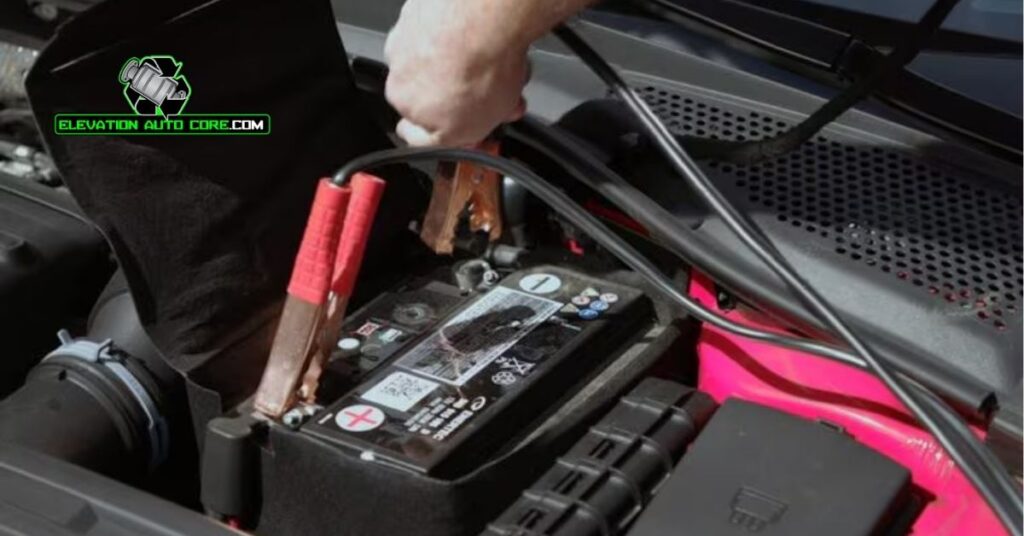
Jumper cables connect two car batteries, allowing electricity to flow from the working battery to the dead one. Each cable has clamps on both ends—one red (positive) and one black (negative)—to attach to the terminals. Correct polarity must be matched for the circuit to work effectively. The flow of current charges the dead battery enough to start the car’s engine.
Importance Of Proper Procedure
Following the correct steps ensures safety and prevents damage to components like the electrical system or alternator. Reversing the polarity or skipping safety precautions can harm the cables or batteries. Always connect the positive clamp first to avoid sparking, then attach the negative clamp last to a grounded metal part, not the battery terminal. Proper grounding minimizes the risk of ignition from flammable gases near the battery.
Preparing To Jump-Start A Vehicle
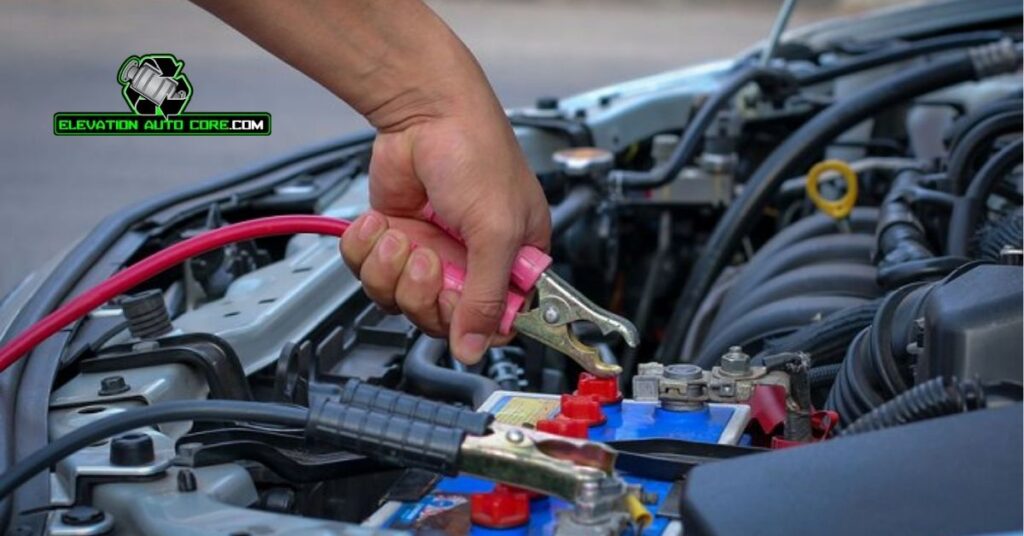
Careful preparation ensures both safety and efficiency when jump-starting a car. Follow the steps below to gather essential tools and understand critical components.
Necessary Tools And Safety Measures
Start by gathering the right tools. Jumper cables are vital, and they should have well-insulated clamps with a sufficient length, ideally 10-20 feet. A pair of protective gloves and safety glasses minimize direct contact with sparks or battery acid. Verify that both vehicles are parked with engines off and in neutral or park. Engage the parking brake to keep the cars stationary while working.
Prioritize safety throughout the process. If the battery shows visible damage, such as cracks or leaks, avoid attempting a jump-start. Ensure the jumper cables’ metal clamps don’t touch each other when connected to a power source. Keep flammable materials, like rags or fuel, far from the battery area to reduce ignition risk.
Identifying Battery Terminals
Locate the battery in both cars, typically under the hood or inside the trunk in certain models. Identify the positive terminal marked with a “+” symbol and often covered by a red cap. Similarly, find the negative terminal labeled with a “-” symbol, usually uncovered or marked in black. Clean any visible corrosion or debris from the terminals using a wire brush to create a strong electrical connection.
Properly distinguishing battery terminals avoids accidental reverse polarity, which could damage both vehicles’ electronics. Always double-check markings before attaching the cables.
How Long To Leave Jumper Cables On Before Starting
Timing is crucial when jump-starting a car as it affects how effectively power is transferred to the dead battery. Understanding the factors that influence this process ensures a safe and successful jump-start.
Factors That Influence Timing
Battery charge level significantly impacts the duration required. A completely dead battery needs more time to build enough charge before starting. If the battery has some residual charge, the process is quicker.
The condition of the jumper cables determines the effectiveness of the connection. Thick, well-insulated cables transfer power more efficiently than thinner or worn ones, reducing charging time.
Environmental factors, including temperature, play a role. Cold weather impacts battery performance, often increasing the time necessary for a sufficient charge to accumulate.
The donor vehicle’s battery capacity influences how quickly power is delivered. A stronger battery in the assisting vehicle ensures faster and more consistent charging.
General Guidelines And Recommendations
Leave the jumper cables connected for at least 5 minutes after attaching them properly. This allows time for the dead battery to accept the initial charge and stabilize.
Monitor the dead battery’s condition by observing the vehicle’s electrical components. If lights or dashboard indicators respond, the battery has gained sufficient charge.
Avoid leaving the cables connected for extended periods, as this could strain the alternator of the donor vehicle. If starting fails after 15 minutes, inspect the connections or consider battery replacement.
Following manufacturer guidelines also helps prevent damage to the vehicles involved. Always refer to the vehicle manual for exact instructions on jump-starting procedures.
Preventing Damage While Using Jumper Cables
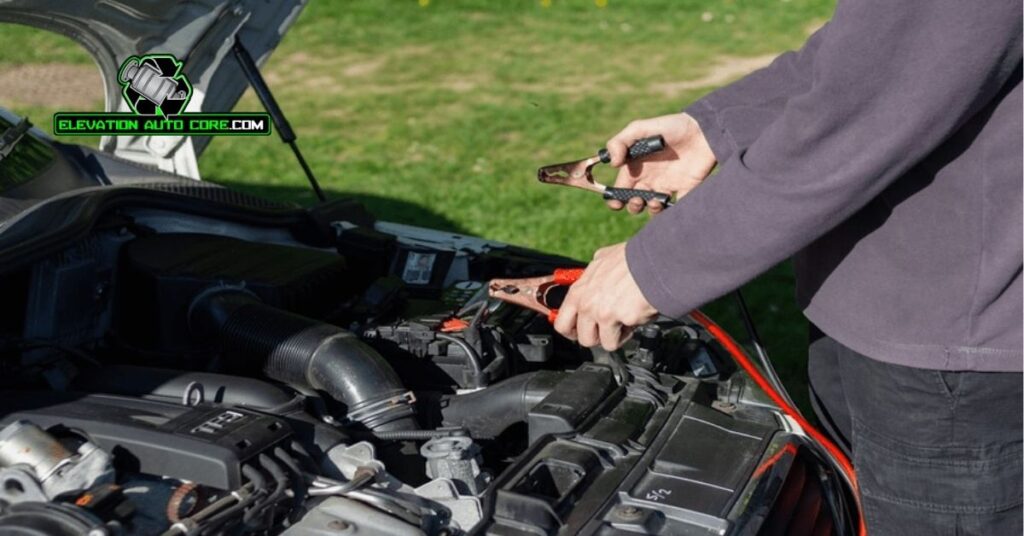
Using jumper cables incorrectly can harm your vehicle’s electrical system. Proper attachment and monitoring are critical to ensure safety and effectiveness.
Common Mistakes To Avoid
Incorrect polarity during cable attachment can damage vehicle electronics. Always match the positive clamp to the positive terminal and the negative clamp to a grounded metal part.
Failing to check battery health before connection may worsen pre-existing issues. Inspect both batteries for cracks or leaks to avoid further complications.
Leaving cables on for too long risks overheating or straining the donor vehicle’s alternator. Disconnect them immediately after the dead battery gains enough charge for ignition.
Skipping safety equipment like gloves or safety glasses increases exposure to hazards, such as battery acid or sparks. Ensure you’re equipped for safe handling.
Signs Of Battery Or Electrical Issues
Engine failure to crank after the cables are connected could indicate a more serious battery or starter issue. If the engine remains silent, inspect the battery’s overall condition.
Excessive sparking during attachment suggests incorrect connections or damaged clamps. Address these issues before proceeding to avoid potential damage.
Dimming lights or fluctuating electrical components might signal ongoing electrical system problems. Monitor accessory functionality once the cables are removed to identify lingering issues.
Unusual noises, such as clicking or whining, during charging or startup can point to a failing alternator or worn-out starter motor. Evaluate the donor and recipient vehicles after the jump to rule out further issues.
When To Seek Professional Help
Persistent issues or failed attempts during a jump-starting process often signal deeper problems requiring expert evaluation. Knowing the right time to involve a professional can prevent further damage.
Recognizing Persistent Battery Problems
Some signs indicate your vehicle’s battery has underlying issues beyond its charge state. Difficulty starting the vehicle, even after leaving jumper cables connected for recommended durations, suggests the battery might not hold a charge. Dim headlights or flickering dashboard lights during ignition attempts could mean a failing battery or alternator.
If the engine cranks weakly or produces no response after multiple jump-start attempts, the battery may have reached the end of its lifespan. A professional diagnosis eliminates guesswork and identifies other potential causes like corroded cables, a faulty starter motor, or damaged electrical systems.
Alternatives To Jump Starting
In cases where jump-starting yields no results or feels unsafe, other methods can restore power or address the problem. Portable battery jump packs offer a self-sufficient and compact solution without involving another vehicle. These devices are especially useful when professional help isn’t immediately accessible.
Battery replacement might be necessary if repeated jump-starts fail to resolve the issue. A shop or mobile mechanic can assess the battery’s condition and install a new one. For alternator or starter motor problems, towing the vehicle to a repair facility ensures safe handling and accurate repairs.
Conclusion
Understanding the timing and proper use of jumper cables is essential for safely and effectively jump-starting your vehicle. By following the correct steps, using the right tools, and paying attention to safety precautions, you can avoid unnecessary risks and potential damage to your car.
If you encounter repeated issues or suspect deeper problems, don’t hesitate to seek professional help. Staying informed and prepared ensures you can handle unexpected battery troubles with confidence and care.

