Which jumper cable goes on first when jump-starting a car? It’s a question you don’t want to fumble with, especially when dealing with a dead battery. Knowing the correct order isn’t just about getting your car running—it’s about ensuring safety and preventing costly damage. Keep reading to learn the right steps and avoid common mistakes.
Entities: jumper cable, dead battery, car, safety, correct order, jump-starting.
Understanding Jumper Cables

Jumper cables are essential tools for reviving a dead battery. These insulated wires transfer electrical power from a working car battery to one that’s drained.
What Are Jumper Cables?
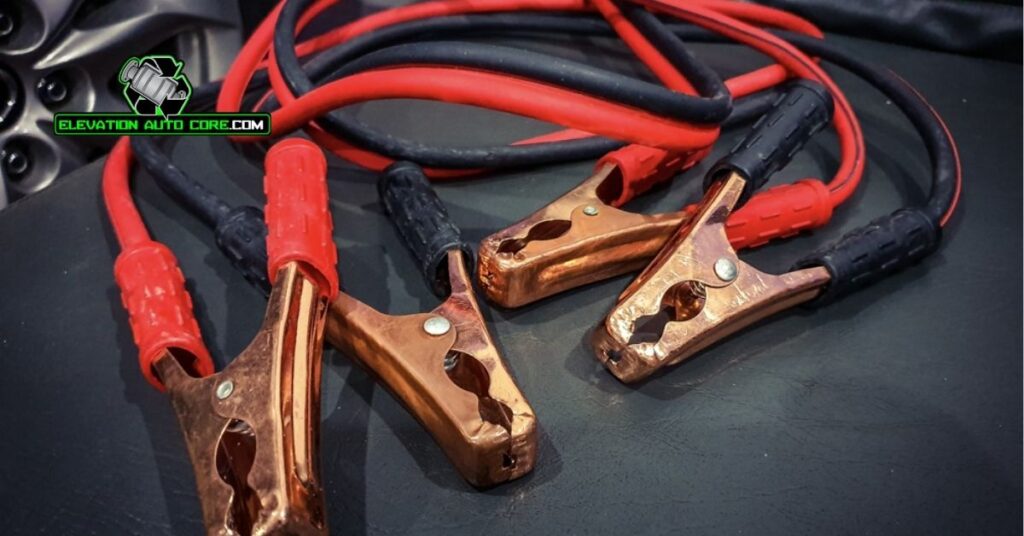
Jumper cables consist of two heavy-duty wires with clamps on both ends. One cable is red, signifying positive polarity, and the other is black, indicating negative polarity. The clamps ensure a stable connection to the battery terminals and grounding point, enabling a smooth electrical flow. You can find these cables in varying lengths, typically between 10 and 25 feet, and gauges that determine their conductivity and power capacity.
Common Uses And Importance
Jump-starting cars with dead batteries is a primary use for jumper cables. They’re also vital in emergencies where a quick restart is necessary. Besides helping to start stalled vehicles, jumper cables prevent unnecessary delays and inconvenience caused by battery failure. These cables promote safe and efficient energy transfer when handled in the correct sequence, ensuring equipment and user safety.
Preparations Before Jump-Starting A Vehicle

Jump starting a vehicle requires careful preparation to ensure safety and efficiency. Focusing on key steps before connecting jumper cables reduces risks and potential damage.
Safety Precautions To Consider
Wear protective gear to shield yourself from sparks or battery acid. Place both vehicles in park or neutral, and apply the parking brakes. Ensure the area is well-ventilated to avoid exposure to harmful gases. Turn off both vehicle engines and accessories like lights or radios. Keep metal objects, such as tools or jewelry, away from the batteries to prevent accidental contact.
Checking The Battery And Connections
Inspect the dead battery for cracks, leaks, or corrosion. Look closely at the terminals to confirm they’re free of rust or residue. Clean the connections if debris is present for a better electrical transfer. Verify the battery voltage matches the working vehicle’s system to avoid compatibility issues.
Which Jumper Cable Goes On First?
Knowing the correct cable connection order is essential for safe and efficient jump-starting. Following the proper sequence protects your electrical system and avoids dangerous accidents.
Step By Step Instructions
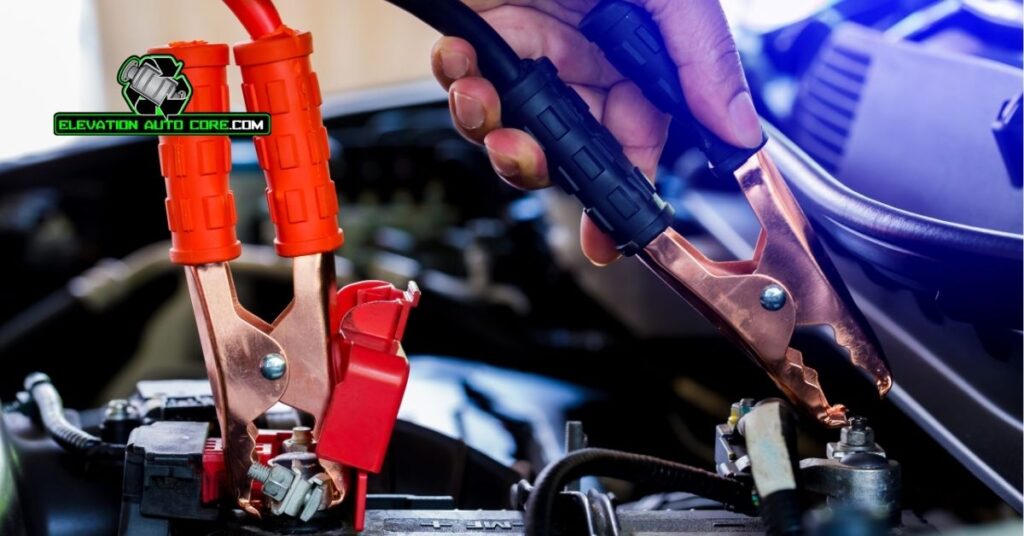
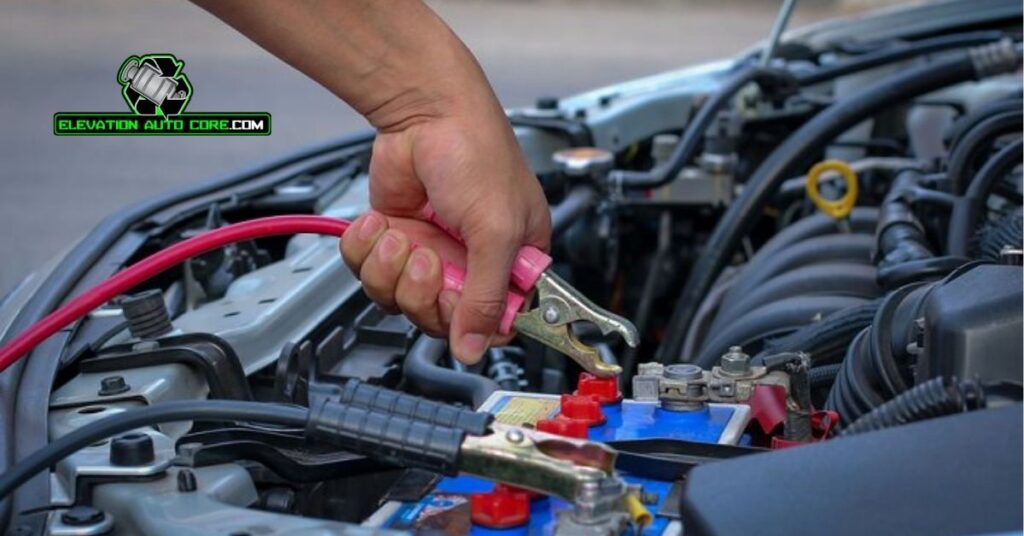
Begin by attaching the red cable to the positive terminal of the dead battery. Secure the clamp properly to ensure a stable connection. Next, connect the other end of the red cable to the positive terminal of the charged (donor) battery.
Attach the black cable to the negative terminal of the donor battery. To complete the circuit, fasten the other end of the black cable to an unpainted metal surface on the dead car, like a clean bolt or engine block, away from the battery.
Once connections are made, start the donor vehicle and let it run for a few minutes. Try starting the dead car after allowing time to charge.
Explaining The Sequence And Why It Matters
Attaching the red cable to the positive terminal first minimizes accidental short circuits. Positive terminals carry the direct charge, so incorrect handling could result in sparks or damage.
Securing the black cable last reduces the risk of voltage surges near the battery. Connecting to a metal ground surface instead of the dead battery’s terminal prevents explosive reactions from hydrogen gas emissions.
This exact sequence ensures energy flows safely and protects both batteries and electrical components. Deviating from this order increases risks, making accidents more likely. Always follow these guidelines for a safe jump-start.
Common Mistakes To Avoid

Avoiding errors when using jumper cables is essential for safety and effective jump-starting. Incorrect procedures can cause serious damage to vehicles or harm to you.
Mixing Up Cable Order
Connecting the wrong cable first may result in dangerous electrical sparks or damage to the battery. Always attach the red cable to the positive terminal on the dead battery before anything else. Ensure the second connection is the other end of the red cable to the positive terminal on the donor battery. After the red cables, connect the black cable to the negative terminal on the donor battery and secure the other end of the black cable to an unpainted metal surface on the vehicle with the dead battery. Following this sequence reduces risks and ensures proper power transfer.
Ignoring Safety Guidelines
Disregarding safety measures can lead to battery explosions or electrical shocks. Confirm both cars are turned off, the gears are in park or neutral, and accessories like lights are switched off. Verify the clamps are secured tightly to prevent accidental disconnection during the jump-start process. Keep metal objects like jewelry away from the battery terminals to avoid short circuits. Inspect the batteries for leaks, swelling, or corrosion before proceeding. These precautions mitigate potential dangers and improve the chances of a successful jump-start without incidents.
Tips For Successful Jump-Starting

Following the right steps and precautions ensures a smooth and safe jump-start process. Proper actions minimize risks and maximize battery performance.
Maintaining Proper Cable Connections
Always ensure the red and black cables are connected securely to their respective terminals. Loose connections can interrupt energy flow or cause sparks. Double-check all clamps before proceeding to start the dead vehicle. Avoid letting the cables touch each other or other metal surfaces, as this can create dangerous short circuits. Use clamps that are free of rust or damage for better conductivity and safety.
Maintain a safe distance between the jumper cables and engine components. Moving parts might dislodge or damage the cables during the process.
Testing The Battery After Jump-Starting
Once the vehicle starts, keep the engine running for at least 10-15 minutes. Running the engine allows the alternator to recharge the battery. Use a multimeter to check the battery voltage; a reading between 12.4 and 12.6 volts indicates a proper charge. If the voltage is below this range, you may need further charging or a replacement battery.
Turn on headlights or the radio to ensure the electrical system functions properly. Verify that warning lights on the dashboard, like the battery indicator, are off—this confirms successful energy flow.
Conclusion
Knowing the correct steps for using jumper cables can save you time, protect your vehicle, and ensure your safety. By following the proper sequence and taking necessary precautions, you can jump-start your car confidently without risking damage to the battery or electrical system.
Always double-check your connections and remain cautious throughout the process. With the right approach, you’ll be back on the road quickly and prepared for any future battery-related emergencies.

