Ever found yourself stuck with a dead car battery and unsure how to connect jumper cables? Knowing the right steps, along with a clear diagram, can save you time and prevent damage to your vehicle. Stay tuned, and you’ll learn exactly how to jump-start your car safely and confidently.
What Are Jumper Cables?

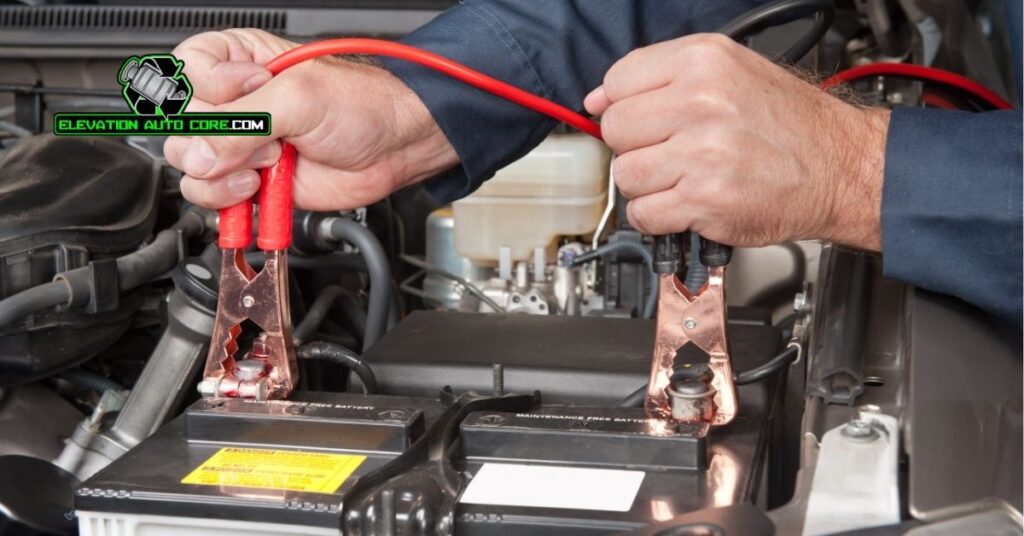
Jumper cables are essential tools for jump-starting a vehicle with a dead battery. They consist of insulated wires with metal clamps at both ends, designed to transfer electrical current from one battery to another. The clamps are color-coded, typically red for positive terminals and black for negative terminals, ensuring proper connection.
Each cable’s metal clamps must securely attach to the battery terminals on both vehicles. High-quality jumper cables are often more durable and provide better conductivity, reducing resistance during the transfer process. Standard lengths range from 10 to 20 feet, allowing flexibility in positioning vehicles.
Always choose cables with a gauge rating appropriate for your vehicle type. Lower gauge numbers, like 4 or 6, handle more current, making them suitable for larger vehicles such as trucks or SUVs.
Importance Of Understanding The Connection Diagram

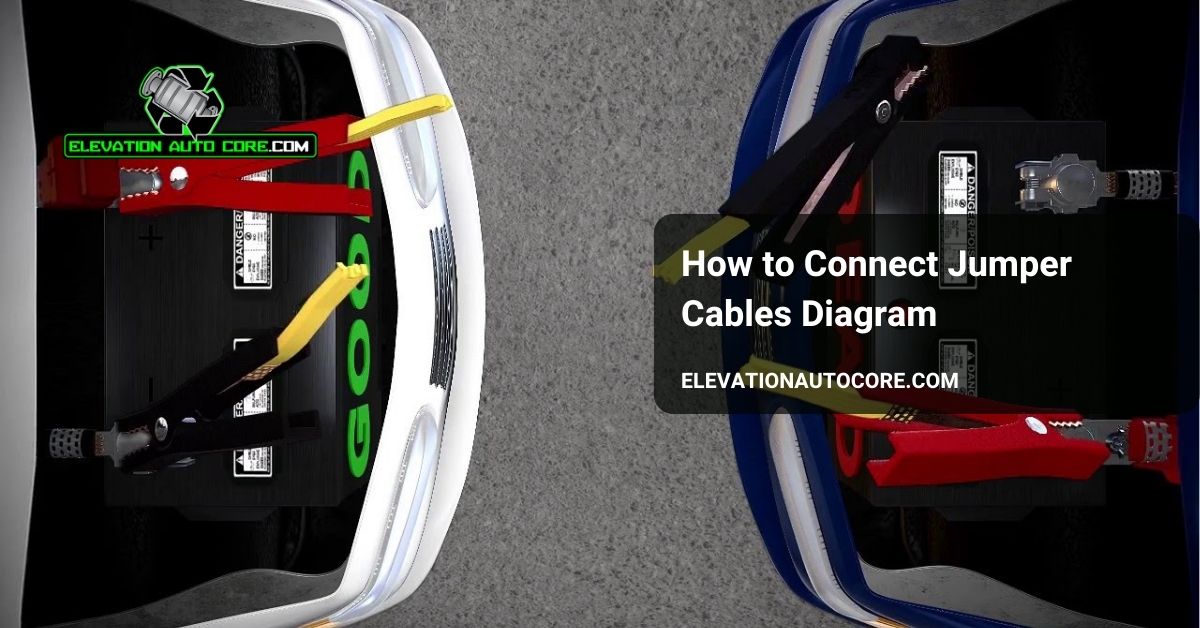
A proper understanding of the jumper cable connection diagram ensures safety during the jump-start process. Incorrect connections risk severe damage to your vehicle’s electrical system. Following the diagram protects you from potential hazards, like short circuits or electric shocks.
The connection diagram visually distinguishes positive and negative terminals. Red clamps represent positive terminals, and black clamps signify negative terminals. This color coding prevents confusion when connecting cables.
Battery terminals require precise connections based on the diagram to complete the circuit effectively. Improper attachment could harm onboard electronics or fail to start the engine. Ensuring correct placements improves efficiency and reduces risks.
Confidence in using jumper cables comes from knowing how to interpret the diagram. Vehicles, particularly with complex systems, depend on accurate connections for successful jump-starts.
Tools You Will Need
Gathering the essential tools ensures a smooth and safe jump-start process. Each item plays a critical role in properly connecting the jumper cables.
Jumper Cables
Jumper cables are the primary tool for jump-starting a car with a dead battery. Choose cables with an appropriate gauge rating, such as 4 or 6, for better conductivity and flexibility. Opt for cables of at least 12 feet to ensure adequate reach between vehicles. The color-coded clamps—red for positive and black for negative—help you identify the correct connections.
A Functional Vehicle
Another vehicle with a fully charged battery is necessary for the jump-start process. Ensure the vehicle is of a similar or greater size to provide sufficient power. Confirm the battery is in good condition to avoid complications during the jump.
Step-By-Step Guide To Connect Jumper Cables

Jump-starting a vehicle successfully requires ensuring each step is performed correctly. Following these instructions helps protect your car’s electrical system and ensures safety.
Preparing The Vehicles
Position both vehicles so they are close enough for the jumper cables to reach but not touching. Put both vehicles in park or neutral with the parking brakes engaged. Turn off the engines, lights, and any accessories in both cars. Ensure the cables are untangled and ready for use.
Identifying Positive And Negative Terminals
Locate the battery in both vehicles and identify the terminals. The positive terminal usually has a “+” symbol or red marking, while the negative terminal has a “-” symbol or is black. Clean any dirt or corrosion from the terminals to ensure a strong connection.
Attaching The Jumper Cables Properly
Begin by connecting one red clamp to the positive terminal of the dead battery. Attach the other red clamp to the positive terminal of the charged battery. Next, secure one black clamp to the negative terminal of the charged battery. Attach the second black clamp to an unpainted metal surface on the vehicle with the dead battery, such as a bolt or engine block. Maintain a secure connection at each point to complete the circuit safely.
Starting The Engine
Start the engine of the working vehicle first. Let it run for a few minutes to transfer power to the dead battery. Attempt to start the vehicle with the dead battery. If it doesn’t start immediately, allow more time for charging. Once the vehicle starts, carefully remove the cables in reverse order, starting with the black clamps, without letting the clamps touch.
Common Mistakes To Avoid

Avoiding errors ensures safety and prevents damage when connecting jumper cables. Staying informed about frequent mistakes is key to a successful jump-start.
Incorrect Terminal Connections
Connecting cables to the wrong terminals can damage the vehicle’s electrical system. Always confirm the positive terminal is marked with a “+” sign and often has a red cover. Negative terminals usually display a “-” sign and may feature a black cover. Attach the red clamp only to the positive terminal and the black clamp to the negative terminal or a suitable unpainted metal surface. Never allow the clamps to touch while attaching them; it could result in a short circuit.
Switching the clamp sequence can harm the donor vehicle’s battery. Start by connecting the positive clamps, then attach the black clamp to the unpainted metal surface as the last step. Carefully inspect and double-check connections using the jumper cable diagram for guidance.
Handling Damaged Cables
Using damaged cables risks electrical failure or sparks during the process. Check for frayed wires, cracked insulation, or bent clamps before starting. Replace any damaged jumper cables immediately, as they compromise safety and efficiency.
Selecting high-quality jumper cables reduces the chance of wear over time. Properly storing cables prevents unnecessary damage and increases their lifespan. Clean dirty clamps to maintain a solid connection, ensuring the jump-start process works as intended.
Benefits Of Knowing How To Connect Jumper Cables
Understanding the correct way to connect jumper cables minimizes risks to your vehicle’s electrical system. Improper connections can cause severe damage, including short circuits or harm to the battery. By mastering the process, you ensure safety for both yourself and your vehicle during emergencies.
You save time by quickly addressing a dead battery without waiting for roadside assistance. Knowing how to properly attach clamps, such as matching the red clamps to positive terminals, allows you to resolve battery issues efficiently. This skill ensures you’re prepared for unexpected situations.
Correctly connecting jumper cables prevents damage to the donor vehicle’s battery and electrical components. Following the proper sequence reduces the likelihood of sparks or power surges. Avoiding mistakes like reversed polarity protects both vehicles involved in the process.
Confidence in connecting jumper cables enhances your ability to assist others. Helping a stranded motorist becomes straightforward when you’re familiar with the correct steps. This knowledge ensures you provide safe, effective help without endangering their vehicle.
Proficiency in jumper cable use reinforces the importance of maintaining high-quality tools. Inspecting your cables for damage and storing them properly preserves their condition, ensuring reliable performance when needed. Investing in cables with appropriate gauge ratings, like 4 or 6, supports easier and safer jump-starting.
Conclusion
Mastering the process of connecting jumper cables is a valuable skill that ensures you’re prepared for unexpected situations. By following the correct steps and referring to the connection diagram, you can jump-start your vehicle safely and efficiently without risking damage.
Investing in high-quality jumper cables and maintaining them properly will enhance your confidence and readiness in emergencies. With the right knowledge and tools, you’re better equipped to handle dead batteries and even assist others when needed.

